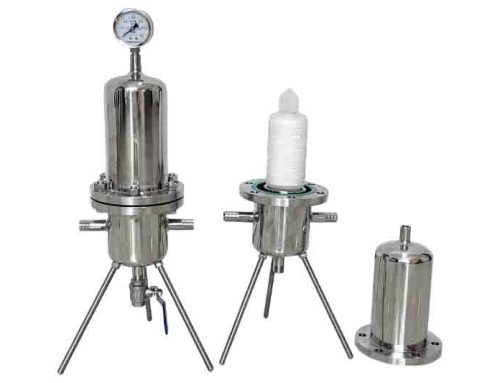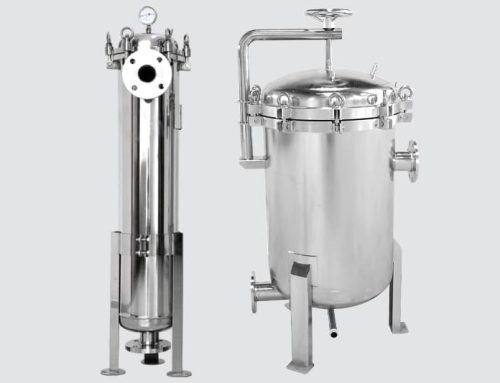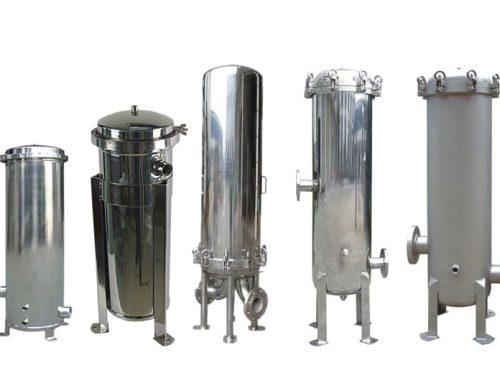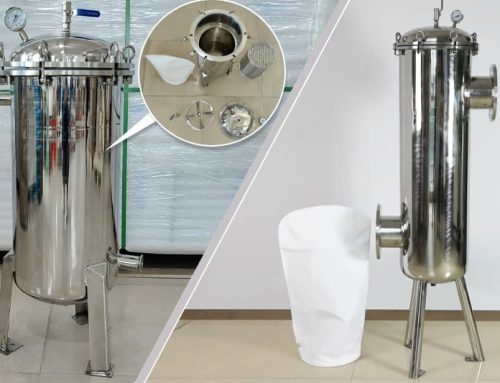

Replacing the filter cartridges in a stainless steel filter housing is a critical maintenance task that ensures your filtration system operates effectively. Here’s a step-by-step guide to help you through the process safely and efficiently:
1. Prepare for Replacement
Gather Tools and Supplies:
- Replacement filter cartridges
- Wrenches or filter housing tools (if required)
- Clean cloth or rags
- Bucket or tray (to catch any spills)
- Safety gear (gloves, eye protection)
Safety First:
- Turn Off the System: Ensure the filtration system is powered down and any associated pumps are turned off to prevent flow during the replacement process.
- Depressurize the System: Open a valve downstream of the filter housing to relieve any built-up pressure. This step is crucial to avoid injury from pressurized fluid when opening the housing.
2. Remove the Filter Housing
Locate and Open the Housing:
- Unscrew the Housing: Depending on the design, you may need to use a wrench or housing tool to unscrew the housing. Turn counterclockwise to loosen.
- Catch Spills: Place a bucket or tray beneath the housing to catch any water or fluid that may spill out as you open it.
Access the Filter Cartridge:
- Remove the Housing Cap: Carefully remove the housing cap or lid, setting it aside on a clean surface.
- Extract the Old Cartridge: Pull out the old filter cartridge. Be cautious as it may still contain contaminants. Dispose of it according to local regulations or manufacturer instructions.
3. Install the New Filter Cartridge
Inspect and Clean:
- Clean the Housing: Wipe down the interior of the housing with a clean cloth to remove any residual dirt or debris.
- Check O-Rings and Seals: Inspect the O-rings or gaskets for wear or damage. If they are worn, replace them to ensure a proper seal.
Insert the New Cartridge:
- Position Correctly: Place the new filter cartridge into the housing, ensuring it fits securely into the designated slots or seating area. The orientation may vary depending on the filter type, so refer to the manufacturer’s instructions if unsure.
Seal the Housing:
- Reattach the Cap: Screw the housing cap or lid back on tightly, turning clockwise. Use your wrench or tool if necessary to ensure a snug fit.
- Check for Alignment: Ensure that the filter cartridge is properly aligned and that the housing cap seals correctly.

4. Restore and Test the System
Repressurize the System:
- Close Any Open Valves: If you opened a valve to depressurize the system, close it now.
- Turn On the System: Slowly turn the filtration system back on. Gradually increase the pressure to avoid any sudden surges that could dislodge the new cartridge or cause leaks.
Check for Leaks:
- Inspect Joints and Seals: Carefully check around the housing cap and any connections for signs of leaks. Tighten any fittings as needed.
- Run the System: Allow the system to run for a few minutes to ensure everything is functioning correctly.
5. Finalize the Process
Monitor Performance:
- Observe Filtration: Check the output of the system to ensure that the water or fluid is being filtered correctly. Any unusual changes in flow rate or clarity should be investigated.
Document Maintenance:
- Record the Replacement: Note the date of the filter cartridge replacement and any observations about the process. Keeping a maintenance log helps track performance and schedule future replacements.
Dispose of Old Cartridge:
- Follow Disposal Guidelines: Dispose of the used filter cartridge according to local regulations or recycling programs. Some cartridges may be recyclable, while others need special handling due to contaminants.
6. FAQs on Replacing Filter Cartridges in Stainless Steel Housings
How often should I replace the filter cartridge in my stainless steel housing?
The frequency of replacement depends on the application, water quality, and usage. Generally, it’s recommended to replace filter cartridges every 6 to 12 months, or as indicated by a pressure drop or reduced flow rate.
What types of filter cartridges can I use in stainless steel housings?
Stainless steel filter housings are compatible with various cartridge types, including sediment filters, carbon filters, and specialty filters. Always choose cartridges that match your system’s specifications and requirements.
How can I tell if the filter cartridge needs replacing?
Indicators include a noticeable drop in water pressure, reduced flow rate, or diminished water quality. Some systems have pressure gauges or indicators that signal when replacement is needed.
What should I do if I encounter resistance while opening the housing?
If the housing is difficult to open, ensure the system is fully depressurized. Using the appropriate housing tool or wrench can help. Avoid excessive force, which could damage the housing or seals.
Can I clean and reuse filter cartridges instead of replacing them?
Some filter cartridges can be cleaned and reused, depending on their material and design. Follow the manufacturer’s guidelines for cleaning and reusability to ensure effective filtration.
Ready to replace your filter cartridge? Follow these steps to ensure your stainless steel filter housing stays in top shape! Need assistance or high-quality replacement cartridges? Contact Us Today for expert support and premium filtration solutions. Keep your system running smoothly with our reliable products and services!
Get A Quote Today!