

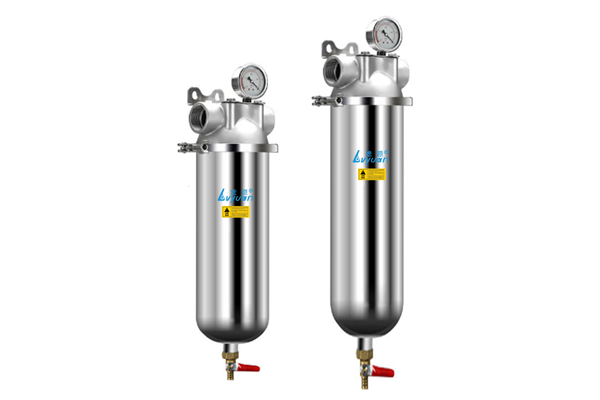
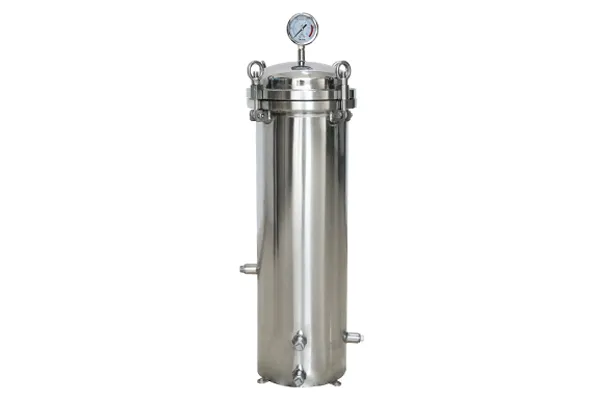
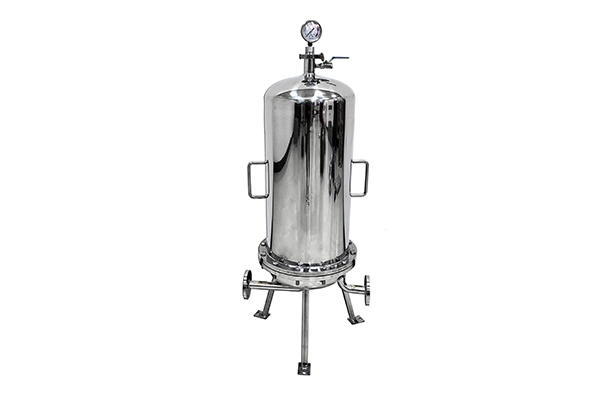
Y Type Strainer Stainless Steel
- Double-layer stainless steel filter structure
- With an interception rate of >95%
- 316L suitable for corrosive media such as acid, alkali, and salt solutions
- Y-shaped flow channel optimization reduces pressure drop to 0.05–0.2 m
- Stainless steel housing + perforated filter cartridge with a pressure rating of 10 MPa
Lvyuan Y type strainer is made of 304/316L stainless steel and features a Y-type structure design that achieves low resistance and high precision filtration. It is widely used to remove solid impurities (such as rust, sand, and welding slag) from media such as water, oil, and gas, thereby protecting valves, pump bodies, and other equipment from wear and blockage.
- Nominal diameter: DN15–DN600 mm (custom non-standard sizes available)
- Nominal pressure: 1.6 MPa (customizable up to 10 MPa/600 lb)
- Filter precision: Water: 18-30 mesh/cm²/Air: 40-100 mesh/cm²/Oil: 100-480 mesh/cm²
- Operating temperature: -80°C to +450°C (low-temperature/high-temperature resistant)
- Connection method: Flange, threaded, clamp, welding (compatible with various pipe types)
- Filter mesh material: 304/316L stainless steel (optional titanium alloy/Hastelloy for corrosion resistance enhancement)
- Pressure drop range: 0.05–0.2 m water column (low flow resistance design)
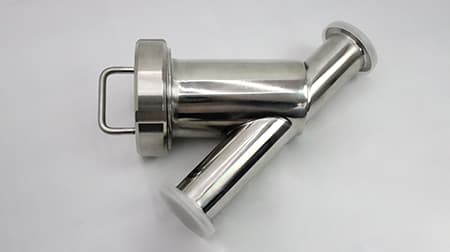
Structural Advantages Of Y Type Strainer
- Y-shaped streamlined design: Fluid resistance reduced by 30% compared to T-shaped filters, with 15% energy savings (resistance coefficient curve diagram included)
- Filter mesh features:
- Stainless steel woven mesh (reusable, with a service life of ≥3 years)
- Perforated mesh (suitable for large particles, with higher strength)
- Wedge wire mesh (high-precision filtration, customizable for particles smaller than 5μm)
- Sealing Structure: Utilizes a mortise-and-tenon seal combined with an O-ring for dual sealing, ensuring no leakage (Attached pressure test video screenshot)
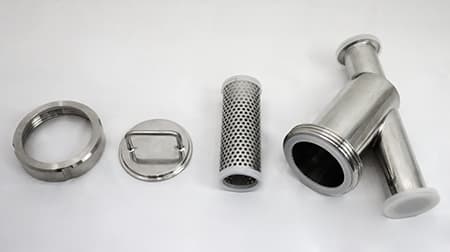
Installation and Maintenance Advantages
- Multi-Directional Installation: Supports horizontal/vertical/inclined installation (attached diagrams of different installation methods)
- Quick-Release Design: Filter cover uses a quick-release/clip-on connection, disassembly time ≤ 2 minutes (saves 80% time compared to traditional flange-type)
Diameter-specific parameter
| Model | Diameter | Connection method | Maximum flow rate (m³/h) | Filter mesh diameter (mm) | Weight (kg) | Installation space (L×W×H mm) |
|---|---|---|---|---|---|---|
| LV-304-PN16-15 | DN15 | Threaded | 8 | 50 | 1.2 | 180×120×150 |
| LY-316-PN25-50 | DN50 | Flange | 50 | 120 | 8.5 | 320×250×280 |
| LY-316L-PN40-100 | DN100 | Welded | 180 | 200 | 22.3 | 480×380×420 |
How is Working Principle Y Type Strainer?
- Principle Diagram:
- Left side: Water flow direction diagram (red arrows indicate raw water, blue arrows indicate filtered water)
- Right side: Close-up of filter mesh intercepting impurities (marked with filter mesh aperture and impurity retention area)
- Text Description:
When the medium enters the Y-shaped valve body from the inlet end, the sudden change in flow direction (90° or 120°) reduces the flow velocity, generating centrifugal force that flings larger particles toward the outer side of the filter mesh;
As the medium passes through the filter mesh, remaining microscopic impurities are trapped, and clean medium flows out from the outlet end;
Once impurities accumulate to a certain extent, they can be directly discharged through the bottom drain port (with a ball valve) or the filter screen can be disassembled for thorough cleaning. - Dynamic Elements:
- Embed a 15-second short video: Simulate the filtration process of different impurities (silt/rust/fibers)
- Interactive button: Click “View Drainage Process” to display an animation of the filter screen removal, cleaning, and installation steps.
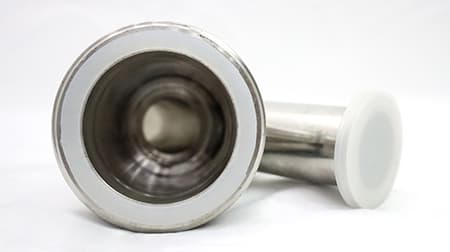
Installation and Maintenance (Step-by-Step Guide)
Installation Steps (with Tool List)
- Prepare tools: Wrench (select size based on connection type), PTFE tape (for threaded connections), spirit level
- Confirm flow direction: The “IN/OUT” markings on the valve body indicate the correct installation direction; do not install backwards (attached: example of damage caused by incorrect installation)
- Reserve space: Leave ≥1.5 times the pipe diameter on both sides of the valve body to facilitate future disassembly and cleaning (attached: installation spacing diagram)
- Seal inspection: For flange connections, tighten the bolts evenly (in a diagonal sequence). The valve may only be put into use after a pressure test confirms no leaks.
Maintenance guidelines
- Cleaning cycle:
- Clean media (e.g., clean water): Every 6 months
- Media with high impurity content (e.g., wastewater): Every 15 days
- Cleaning Steps:
- Close the shut-off valves before and after the filter, open the drain valve to relieve pressure (pressure drops to 0 MPa)
- Remove the filter cover (screw off directly for quick-connect type, remove bolts for flange type)
- Remove the filter screen and rinse with a high-pressure water gun or ultrasonic cleaner (cleaning tool recommendations provided)
- Inspect the filter screen for damage (use a flashlight to check), and replace immediately if damaged.
- Reassemble in the original order, first manually pre-tighten, then use a wrench to tighten (note: do not over-tighten to avoid damaging the threads).




Vraag vandaag nog een offerte aan!