
Introduction
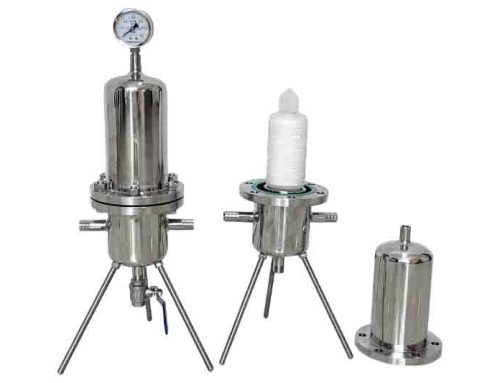
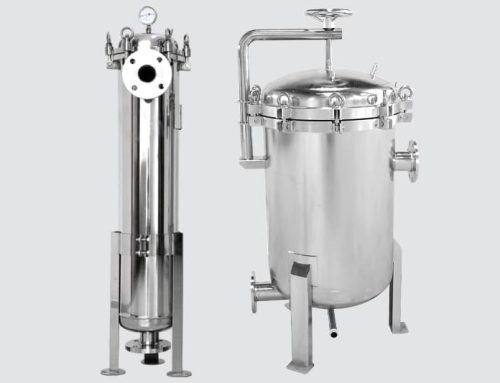
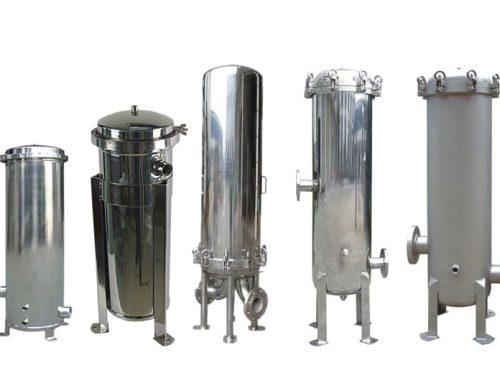
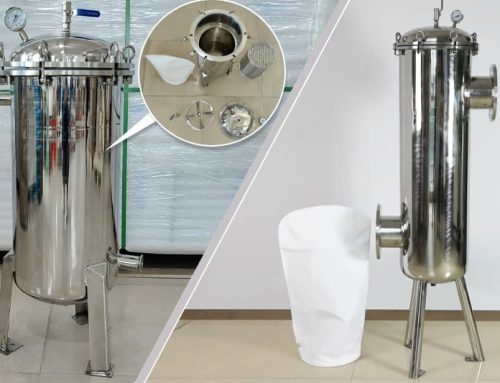
Stainless steel basket strainers are renowned for their simple structure, high flow capacity, and ease of cleaning, making them widely used in industrial, water supply/drainage, and circulation systems. Proper installation not only impacts filtration efficiency but also affects system safety and maintenance convenience. This article provides a practical installation guide and maintenance essentials for field engineers and maintenance technicians, helping you efficiently and safely complete installation and commissioning.
Scope of Application and Pre-Installation Considerations
- Applicable Media: Cold water, hot water, oils, gases (select based on material and seal type).
- Operating Pressure and Temperature: Verify filter rated pressure matches system parameters.
- Recommended Installation Location: Near equipment inlet, accessible for disassembly and cleaning, shielded from direct high temperatures or freezing.
- Flow Direction Requirement: Install following the arrow on the housing, ensuring the basket faces the side for easy removal.
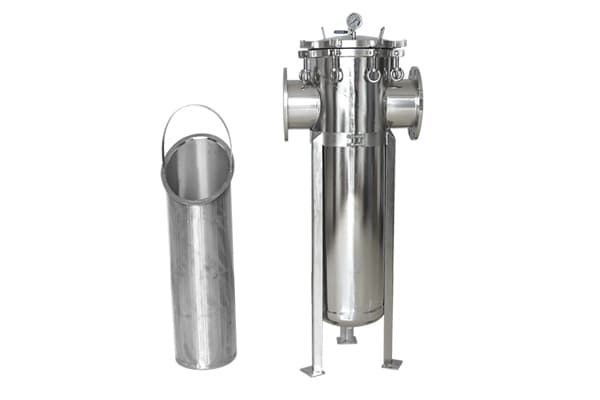
Required Tools and Materials Of Stainless Steel Basket Strainer?
- Basic Tools: Wrench set, torque wrench, pencil or marker, hex wrench, screwdriver, jack or lifting sling (for large diameters).
- Sealing Materials: Graphite gasket or annular rubber gasket (select based on medium), flange bolts and nuts (matching specification grade).
- Safety Gear: Gloves, safety goggles, ear muffs, insulating mat (for welding operations).
- Other: Check valve, bypass valve (if required), drain valve.
Installation Procedure Stainless Steel Basket Strainer?
1. Preparation and Inspection (15–30 minutes)
- Verify model, material, pressure rating, and connection type (flanged, threaded, or welded).
- Inspect basket, filter screen, and housing for transport damage; ensure sealing surfaces are defect-free.
- Clear debris from piping; confirm no residual media or deposits remain inside.
2. Pipeline Isolation and Support (10–20 minutes)
- Close inlet and outlet valves and relieve system pressure.
- Provide adequate support to prevent flange stress from filter weight or thermal expansion.
3. Flange Alignment and Gasket Installation (10–30 minutes)
- Place gasket between flanges, ensuring material compatibility with the medium.
- Align flange holes, insert bolts, and hand-tighten initially.
4. Symmetrical Tightening and Torque Control (10–20 minutes)
- Tighten bolts progressively in a cross-pattern sequence, achieving specified torque in multiple stages to prevent stress concentration or flange warping.
- Use a torque wrench to apply manufacturer-recommended torque values.
5. Install Basket and Cover (5–10 minutes)
- Position the filter basket correctly (note arrow and orientation), install the gasket and cover, ensuring the sealing surface is clean.
6. Drain Port and Bypass (if applicable)
- Install the drain valve and check its opening direction and seal. If the system requires cleaning without shutdown, installing a bypass valve is recommended.
7. Pressure Testing and Leak Detection (20–40 minutes)
- Slowly pressurize to a test pressure below operating pressure (per specifications), observing for leaks at connections and cover surfaces.
Inspect drain port, seals, and flange bolts for tightness.
8. Commissioning and Adjustment (30–60 minutes)
- Open inlet and outlet valves normally, gradually restore system flow, and monitor differential pressure, flow rate, and temperature.
Record initial differential pressure as a baseline for future maintenance comparisons.

Common Installation Errors and Preventive Measures
- Misaligned flanges or skewed gaskets — Causes leakage or flange stress.
- Bolts not tightened in a cross-pattern sequence or to specified torque values — Prone to poor sealing.
- Incorrect basket orientation or missing fasteners — Difficult cleaning or increased flow resistance.
- Neglecting blowdown and bypass design — Causes difficult shutdown cleaning.
Maintenance and Cleaning Recommendations
Routine inspection: Weekly during the first month; monthly or quarterly based on differential pressure after stabilization.
Cleaning Cycle: Clean every 1–3 months based on media solids content and differential pressure rise.
Cleaning Procedure: Shut down, drain, remove basket, clean manually or with high-pressure water. Inspect filter screen for damage; replace seals if necessary.
Spare Parts Recommendation: Keep spare filter baskets, gaskets, drain valves, and flange bolts on hand.
Troubleshooting
- Leakage: Inspect flange gaskets, bolt torque, and cover surface damage.
- Excessive pressure differential: Clogged filter basket—clean or replace; verify no reverse flow or bypass valve failure.
- Abnormal vibration or noise: Excessive flow velocity or unstable mounting—check fasteners and supports.
よくある質問
– Q: Does the filter installation direction matter?
A: Critical. Must install per the housing arrow direction to ensure proper drainage and basket removal.
– Q: Can the filter basket be replaced under pressure?
A: Generally not recommended. Avoid pressure removal unless equipped with a dedicated bypass or suitable pressure-replacement device to prevent hazards.
– Q: How should stainless steel material be selected?
A: Common grades include 304 and 316. Material selection depends on medium corrosion resistance and temperature; highly corrosive acids or halogen environments require superior corrosion-resistant materials.
結論
Proper installation and regular maintenance significantly extend the service life of stainless steel basket filters and ensure stable system operation. For on-site installation guidance or technical support, contact our professional service team to obtain customized installation plans and spare parts lists based on your system specifications.